Hiking Blackcomb: A Guide to Exploring the Mountain on Foot
I’ve spent countless winters riding up the Blackcomb Gondola, but this summer, I’ve discovered a new love for the mountain—on foot.
While our three youngest kids enjoy their mornings at the fantastic Whistler Blackcomb DFX bike camp (more on that in an upcoming post), my husband and I have been hiking. Not hardcore, high-speed hiking—just modest-paced, take-in-the-views, enjoy-the-moment kind of hiking. And it’s been nothing short of amazing.
If you’re considering exploring Blackcomb’s summer trails and wondering what it’s actually like, this guide is for you.
Why Hike Blackcomb?
Unlike some alpine hiking areas that require long drives and logistics, Blackcomb’s trail system is easy to access, scalable to your energy level, and always close to civilization—which is a comfort when you’re leaving kids in camp or aren’t sure how far you want to push yourself.
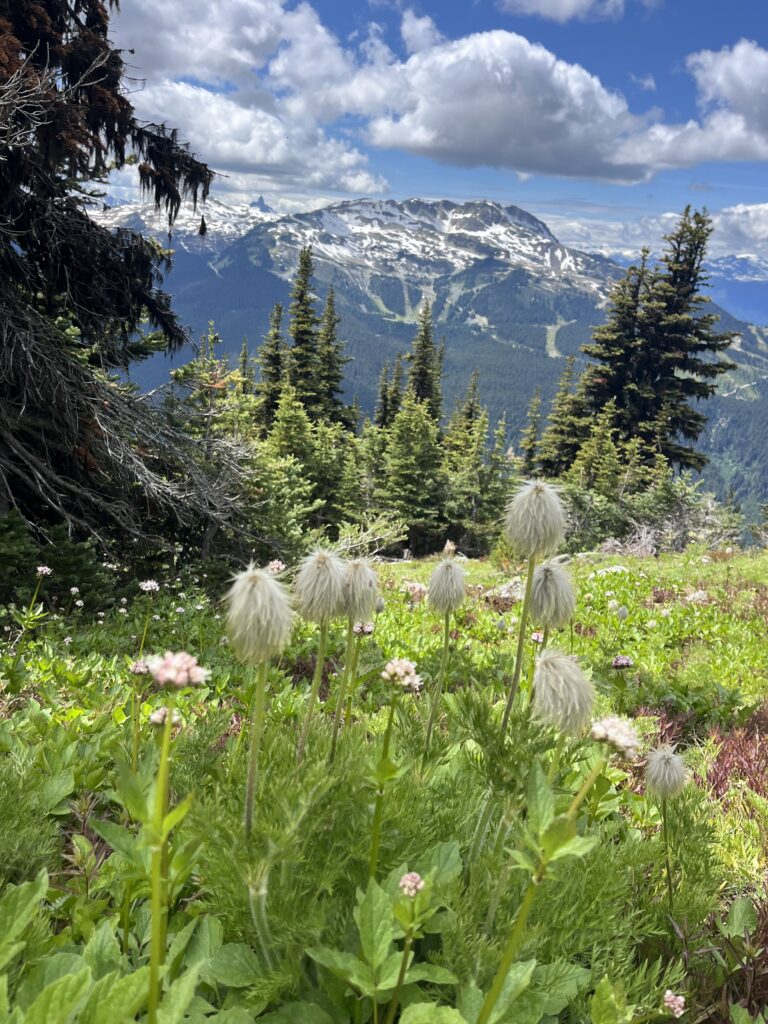
The trails are well-marked, maintained by Whistler Blackcomb, and provide breathtaking views of alpine meadows, glaciers, and the surrounding Coastal Mountains.
The Ascent Trail: Hiking from the Base to the Alpine
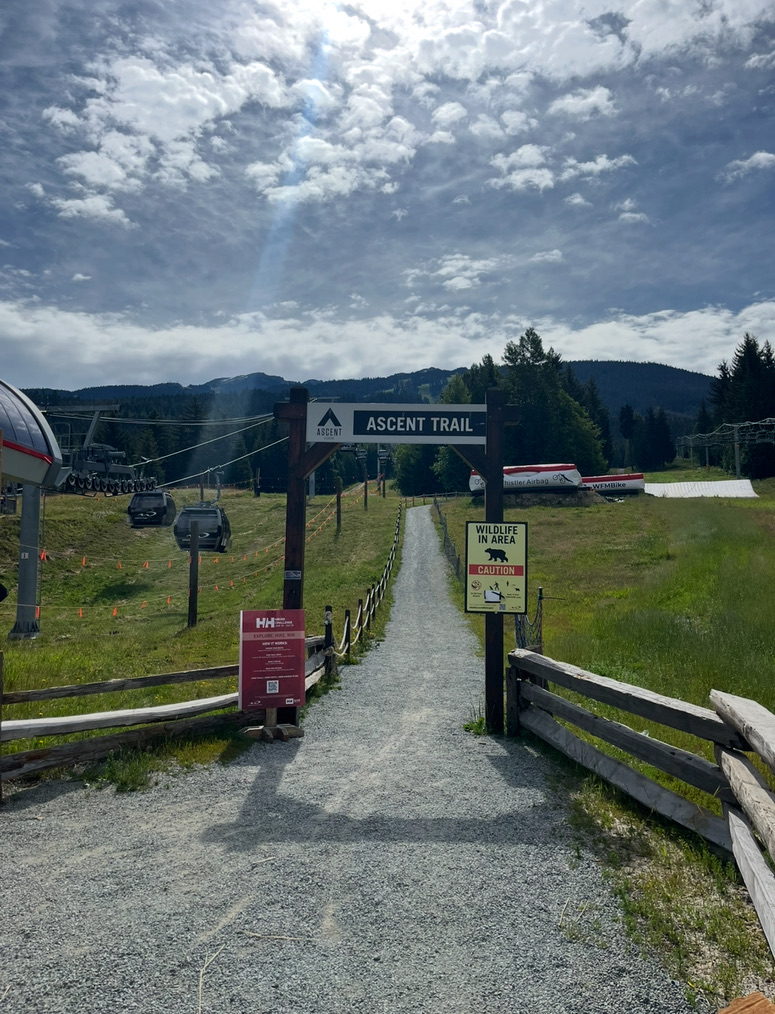
The Ascent Trail is the main route for hikers looking to climb from the base of Blackcomb to the Rendezvous Lodge at the top. It’s broken into three sections – Little Burn, Big Burn and Heart Burn.
Little Burn
- Length: 0.8 km (0.5 mi)
- Elevation Gain: 74 m (243 ft)
- Difficulty: Blue / Intermediate
- Trailhead: Base of Blackcomb Gondola
- End Point: Base 2
Description: Little Burn starts at the base of Blackcomb and is a mellow and scenic warm-up trail that weaves between ski runs and finishes at Base 2. It’s a great start if you want to test your legs or go for a shorter outing.
Big Burn
- Length: 2 km (1.2 mi)
- Elevation Gain: 435 m (1,472 ft)
- Difficulty: Black Diamond / Advanced
- End Point: Midstation (Blackcomb Gondola)
- Options at Midstation:
- Continue hiking up
- Take the gondola up to Rendezvous
- Take the gondola down to the base (you’ll need a pass—early season they didn’t check, but later on, they did)
- Continue hiking up
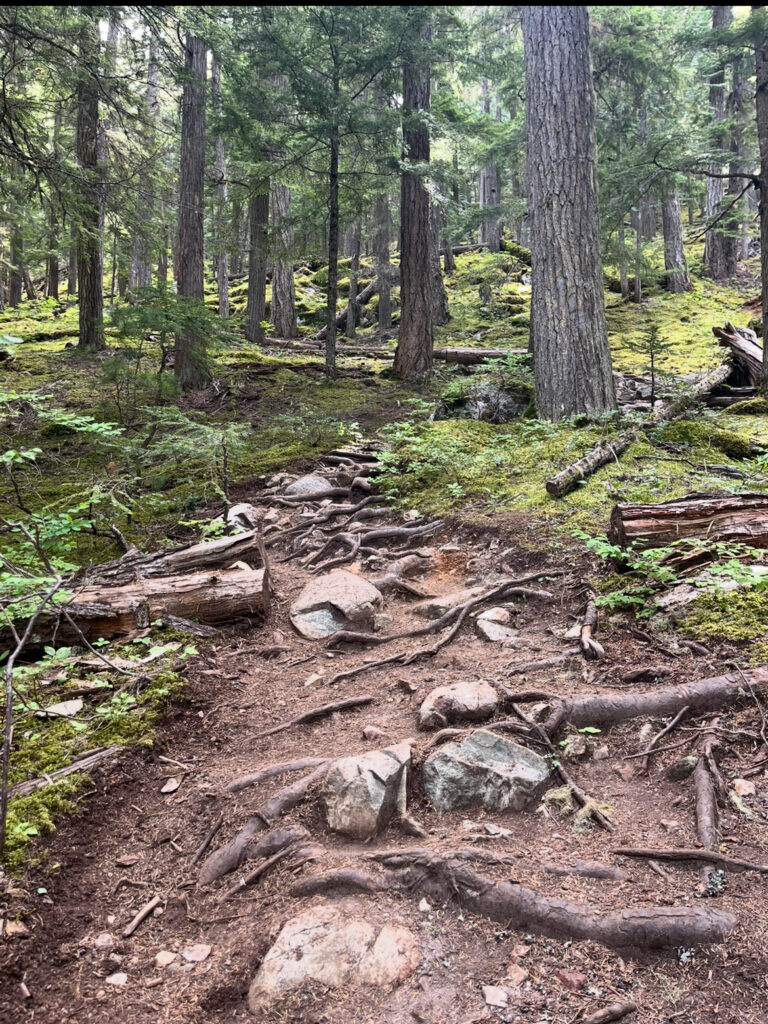
- Description: Big Burn starts at Base 2 and finishes at Midstation. It is a moderate uphill climb through shaded forest. It’s where the burn kicks in, but the rewards are great. The trail climbs from the Douglas-fir forests at the base to the red and yellow cedars at mid-mountain. Yellow cedars are some of the longest-lived trees in the world, with lifespans sometimes over 3000 years! Many yellow-cedars in Whistler have been documented at over 1,000 years.
Heart Burn
- Length: 3.4 km (2.1 mi)
- Elevation Gain: 667 m (2,185 ft)
- Difficulty: Black Diamond / Advanced
- End Point: Rendezvous Lodge
- Highlights:
- Cooler temperatures as you gain elevation
- Often fewer hikers than lower sections
- Occasional snow patches even in summer
- Marmots playing near the top—adorable and fun to watch!
- Cooler temperatures as you gain elevation
Description: This final section winds through peaceful old-growth forest. It’s challenging, but the reward at the top is worth every step. You can grab a snack or drink at Rendezvous or head straight into the alpine trail network.
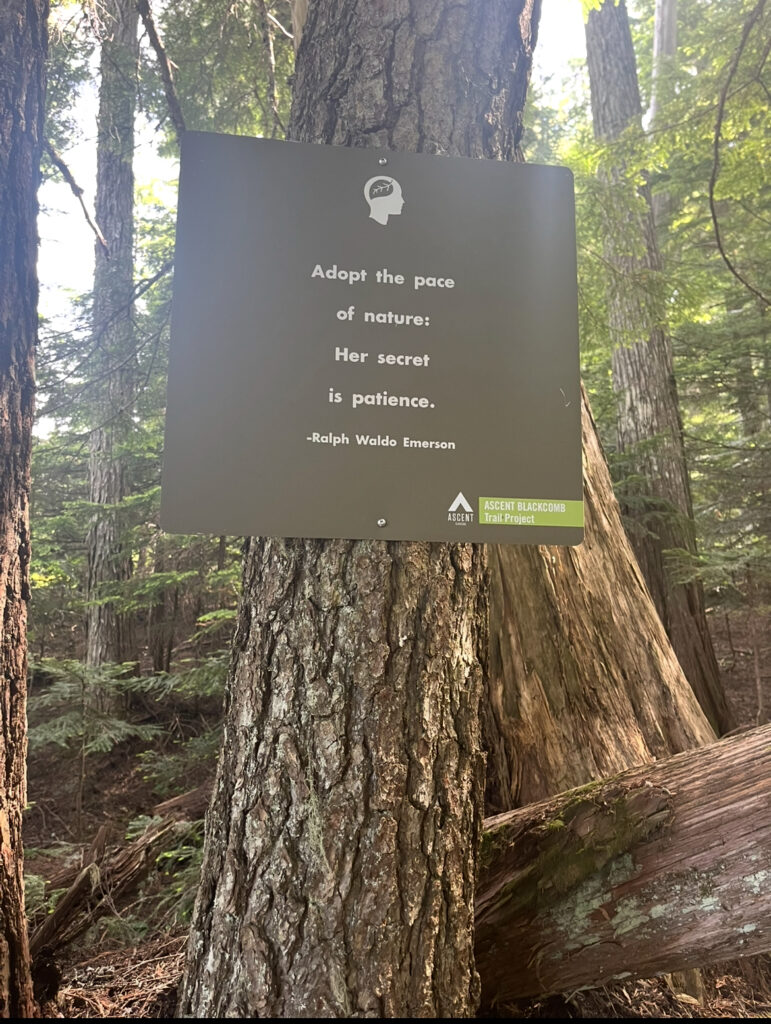
Tips for the Ascent Trail:
- Bring water, bug spray (mosquitos aren’t bad but can appear), and layers
- The climb is mostly uphill—so pace yourself
- Be prepared to see wildlife – bears and deer
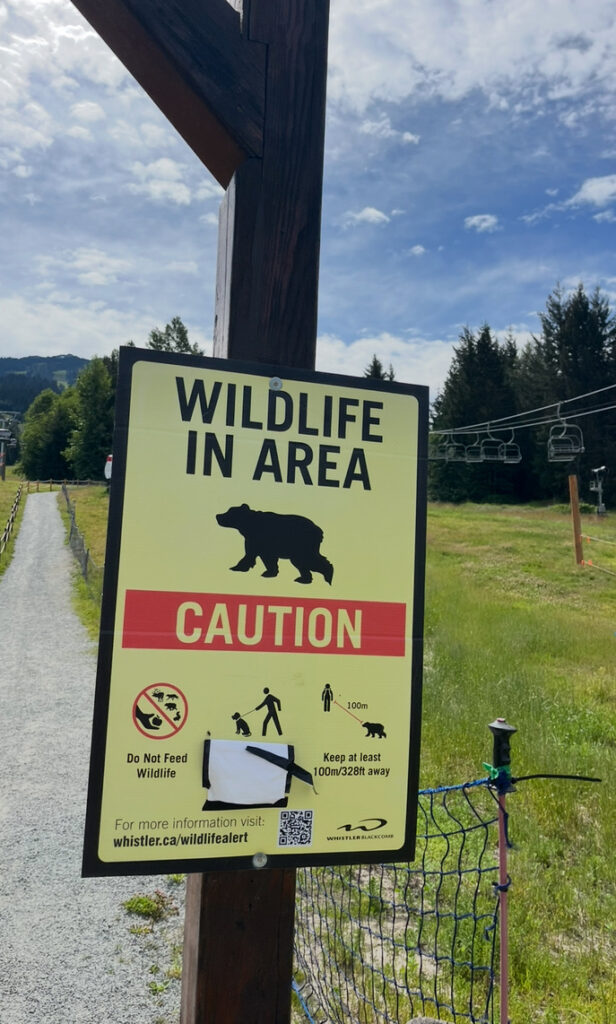
If you’re not sure you’ll complete it all, consider starting at Base 2 or Midstation
Blackcomb Alpine Trails: What to Explore at the Top
Once you reach the top (either by hiking or riding the gondola), you’ll have access to an incredible network of alpine trails. All are stunning in their own right, with glaciers, meadows, and epic mountain vistas. Here’s a breakdown of each:
Alpine Loop
- Length: 1.6 km (1 mi)
- Elevation Change: Minimal
- Time: ~30–40 min
- Description: A short, easy loop near the gondola station. Great for families, stretching your legs, or adjusting to the alpine air.
Overlord Trail
- Length: 3.1 km (1.9 mi) one-way
- Elevation Change: Moderate
- Time: ~1–1.5 hrs
Description: One of the most scenic trails, offering sweeping views of the Overlord Glacier, alpine lakes, and lush meadows. A must-do if you have time and energy.
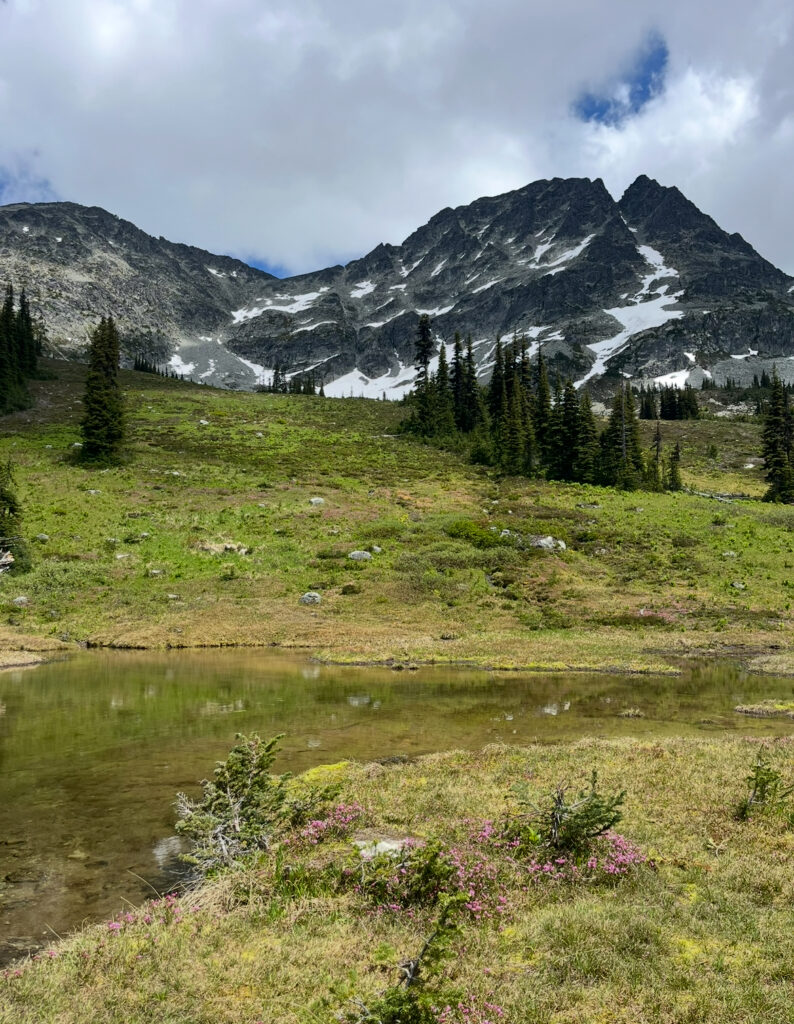
Marmot Trail (Our Favourite!)
- Length: 2.1 km (1.3 mi)
- Elevation Change: ~280 m (downhill if done the way we recommend)
- Time: ~1 hr (downhill, at a modest pace)
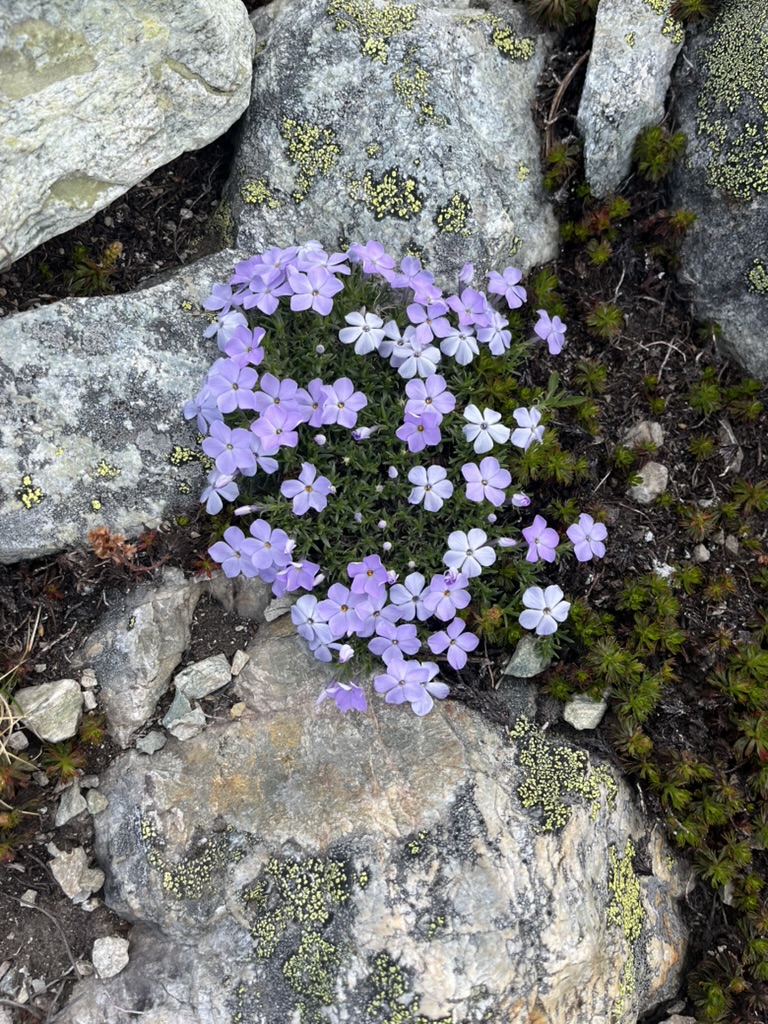
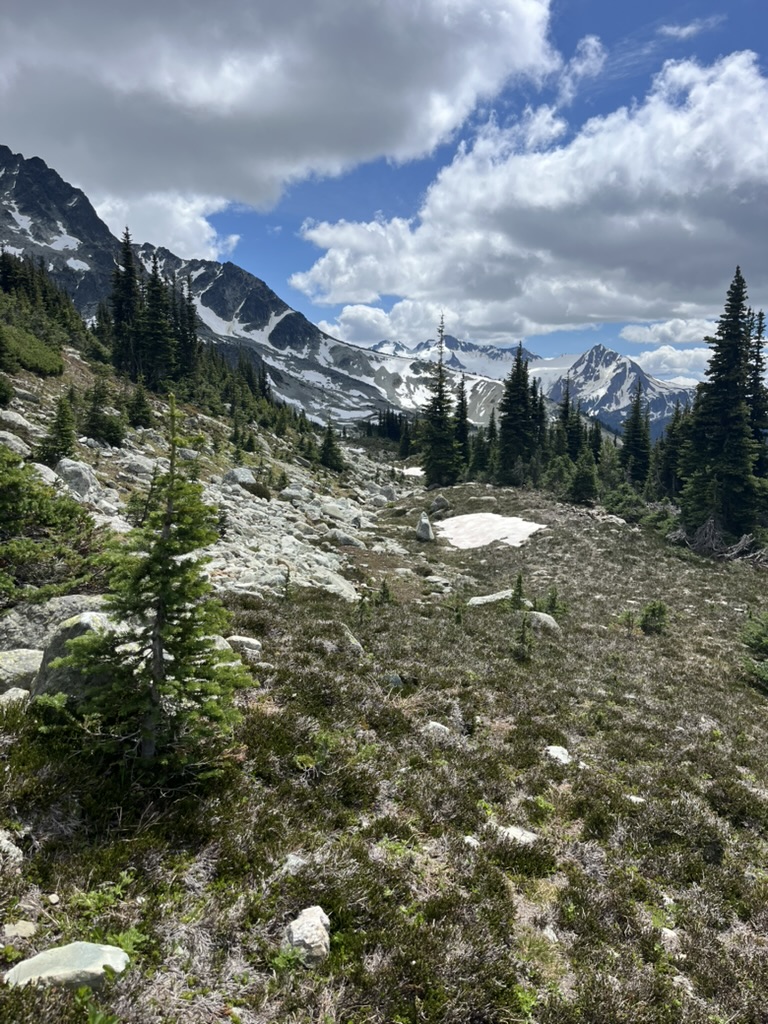
- Description: We hiked up the road from Jersey Cream chair and descended via Marmot Trail—and it was absolutely breathtaking. The wildflowers, glaciers, and surrounding peaks create nonstop views the entire way down.
Alternate Option: Hike it in reverse for a serious leg burn and a quieter uphill experience.
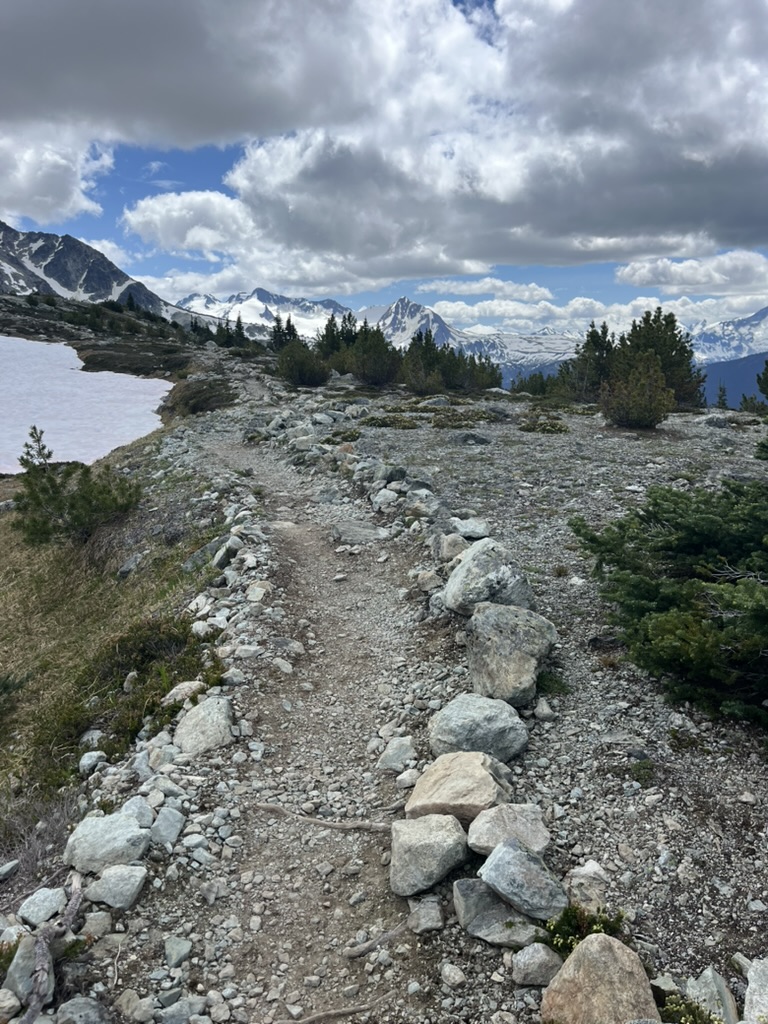
Lakeside Loop
- Length: 1.8 km (1.1 mi)
- Time: ~30–45 min
Description: A mellow loop near the alpine lakes with great opportunities for photos and spotting marmots.
Decker Loop (Coming Soon!)
- Length: 1.1 km (0.7 mi)
- Time: ~30 min
Description: This high-alpine trail branches off Overlord and is typically more rugged. It’s currently closed due to snow and ice, but I’m eagerly waiting to try it—I’ll update the blog once I do!
Kids Adventure Trail
- Length: ~500m
Description: A fun and interactive trail just off the Alpine Loop, perfect for little ones to explore and play in nature while learning about the local ecosystem.
Marmot Trail: A Closer Look
Marmot Trail was my favourite. We started from the top of Jersey Cream chairlift, heading up the service road and descending via Marmot—it was pure magic.
This route allows you to enjoy nonstop, jaw-dropping views during the hike down. Even after living here for 18 years this is the kind of scenery that makes you want to stop and just take it all in. Think: wildflowers, snowcapped peaks, glacier views, and alpine quiet.
If you’re looking for spectacular scenery without too much effort, I highly recommend this direction.
That said, if you’re looking for a workout with more burn, doing Marmot in reverse (uphill) would definitely deliver more of a physical challenge—I’ll update you once we’ve done it that way.
Why We Love Hiking Blackcomb
For us, hiking Blackcomb while our kids are in DFX camp has been a beautiful way to spend time together, reconnect and get moving. We love how close the trails are to town, how we can scale them based on our mood, and how rewarding each outing feels.
Whether you’re here for a few days or live nearby, these hikes offer the kind of beauty, challenge, and flexibility that’s hard to beat.
Tips for Your Blackcomb Hike
- Gondola Access: You’ll need a sightseeing ticket or a pass to ride up the gondola. (If you have next years seasons pass – this is included with your pass).
- Dress in Layers: Weather can change quickly in the alpine.
- Bring Snacks and Water: There’s food at the top, but it’s smart to bring your own.
- Footwear: Hiking shoes or trail runners are best, especially for uneven sections.
- Download the Trail Map: Whistler Blackcomb has a great summer map to follow.
Coming Soon
A full post about why we love Whistler Blackcomb’s DFX camp—what it offers, how it works, and why it’s the best way to give kids a mountain summer while parents sneak in a little adventure of their own.
Final Thoughts
I used to think of Blackcomb as a place for snowboard adventures—but this summer, it’s become our go-to hiking escape. Whether you want a heart-pounding climb, a peaceful wander through wildflowers, or just a couple hours to reconnect with your partner while the kids play—this mountain has something for you.
And if you’ve never taken the time to really walk it—now’s the time.
Let me know if you have done it and what you think in the comments below:)
Happy Hiking!