The Best Homemade ice pop Recipe: Easy, Healthy & Made with Just ONE Ingredient!
If you’re looking for the easiest, healthiest, and most refreshing homemade ice pop recipe, you’ve just found it. After trying dozens of frozen treat combinations over the years, one recipe stands out as the clear favourite in our home—and it only requires one ingredient.
Yep, just one.
These ice pops are kid-approved, mom-approved, and perfect for hot summer days. They’re naturally sweet, super hydrating, and so simple to make that even your kids can help.
Ready for the best frozen summer treat ever?
The One Ingredient ice pop Everyone Loves
You might be surprised, but the secret ingredient is:
Watermelon.
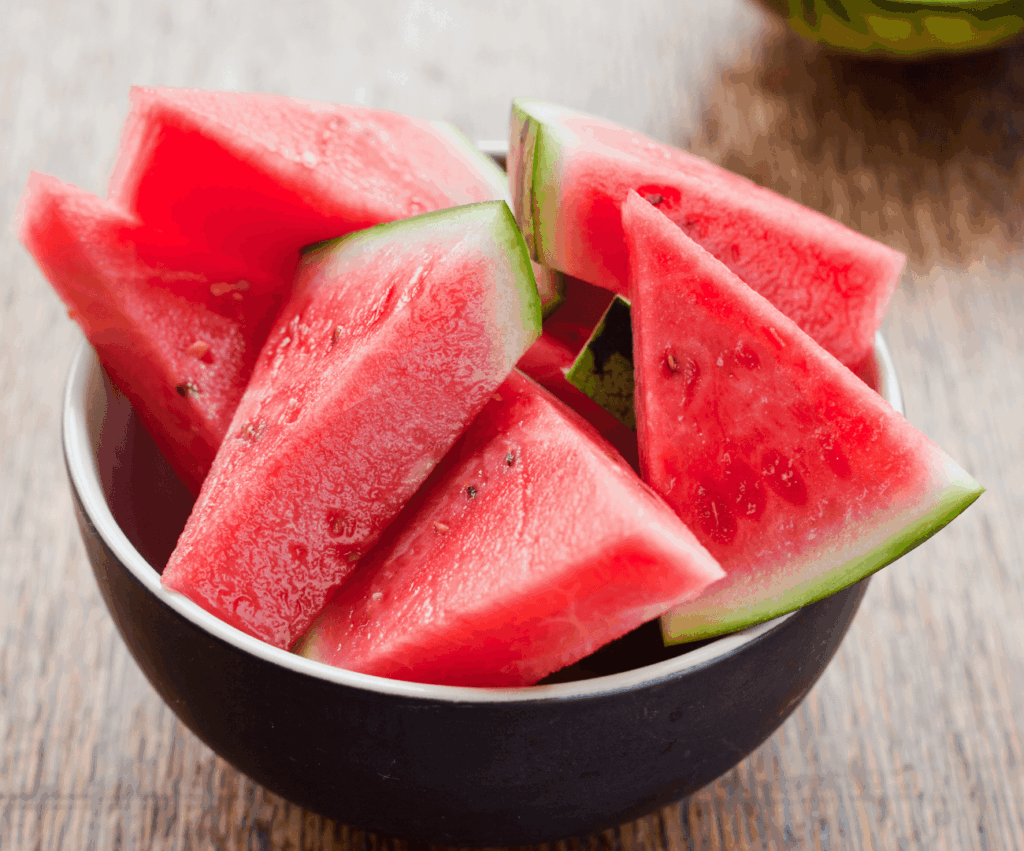
That’s it! No added sugar, no artificial anything—just fresh, juicy watermelon, blended and frozen into the ultimate healthy ice pop.
Why We Love Watermelon ice pops
- Naturally sweet with no added sugar
- Incredibly hydrating
- Packed with vitamins A, B6, and C
- Full of antioxidants like lycopene
- Low in calories
- Pretty (that colour!) and photogenic for summer gatherings
- Perfect for toddlers, kids, and adults alike
In the past, I experimented with combining all kinds of fruits, but time and again, my kids unanimously ask for watermelon. So now it’s the only one I make.
And trust me—you won’t miss the extras.
How to Make Homemade Watermelon ice pops:
INGREDIENTS:
- 1 large ripe watermelon
EQUIPMENT:
- An upright blender
- Ice pop molds (links below!)
Instructions:
1. Choose a ripe watermelon
Look for one that’s heavy for its size, round, has a yellow “field spot” (not white), and sounds hollow when tapped.
2. Prep the watermelon
Slice it, remove the rind, get rid of any black seeds and cut into chunks.
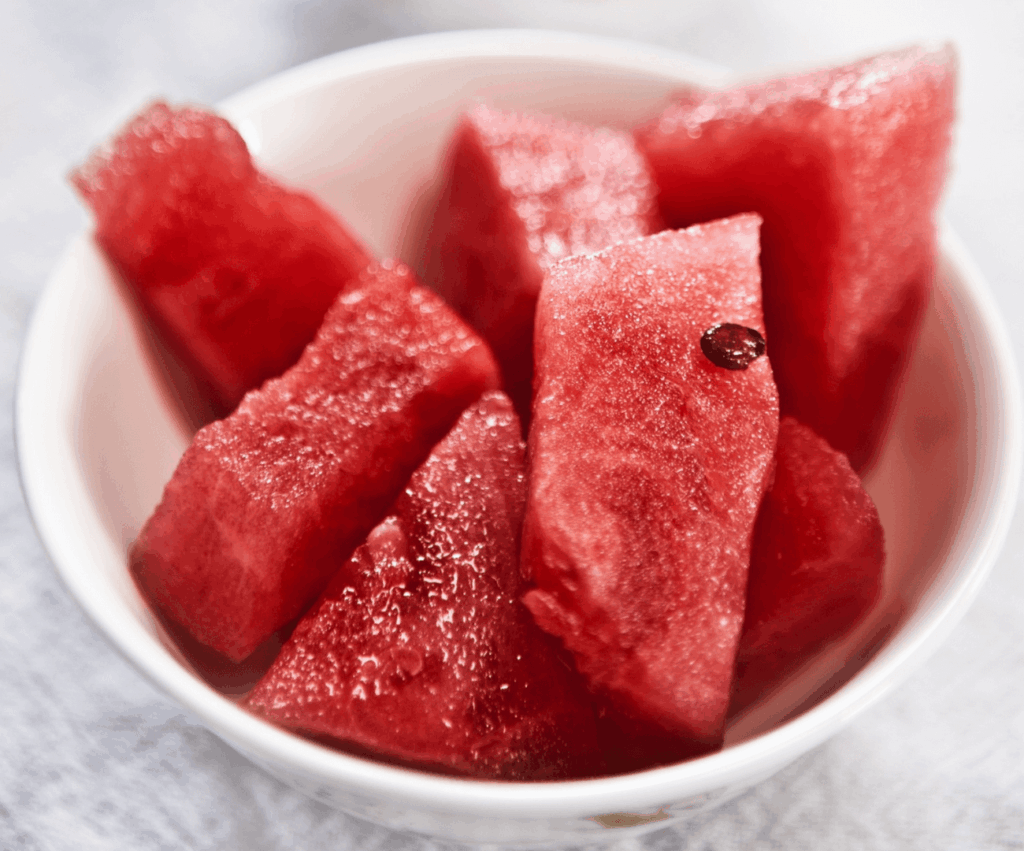
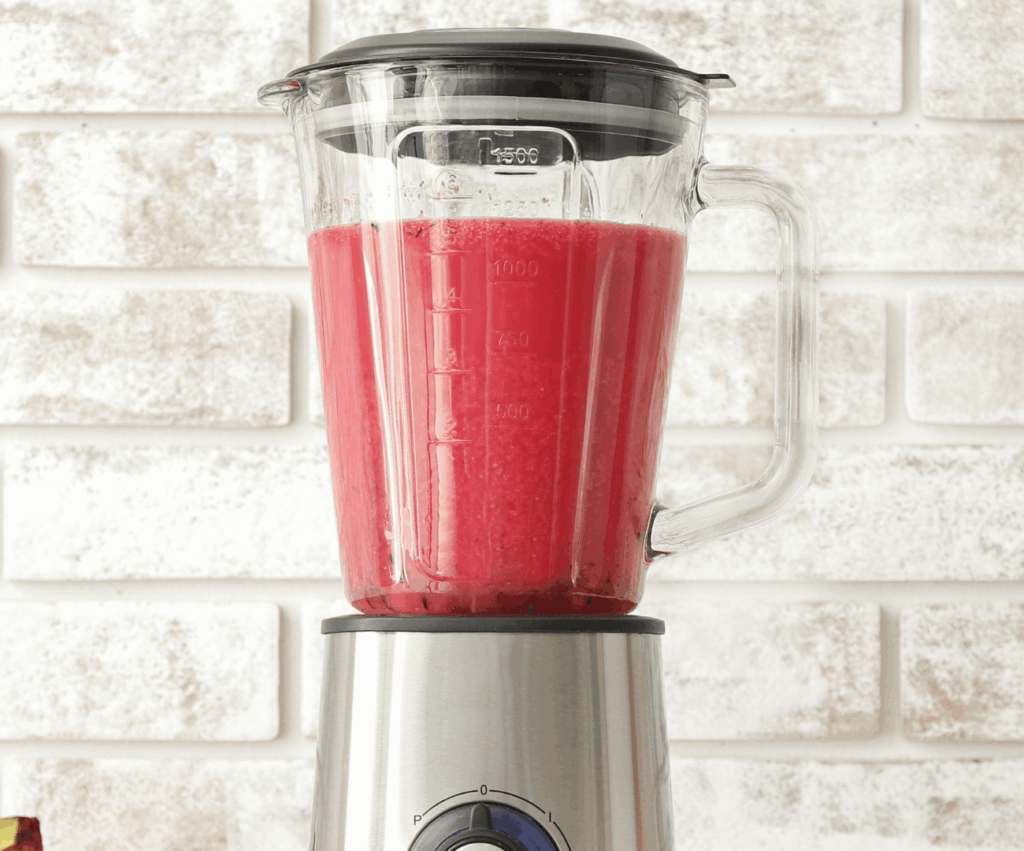
3. Blend
Add the chunks to your blender and puree until smooth.
4. Pour into molds
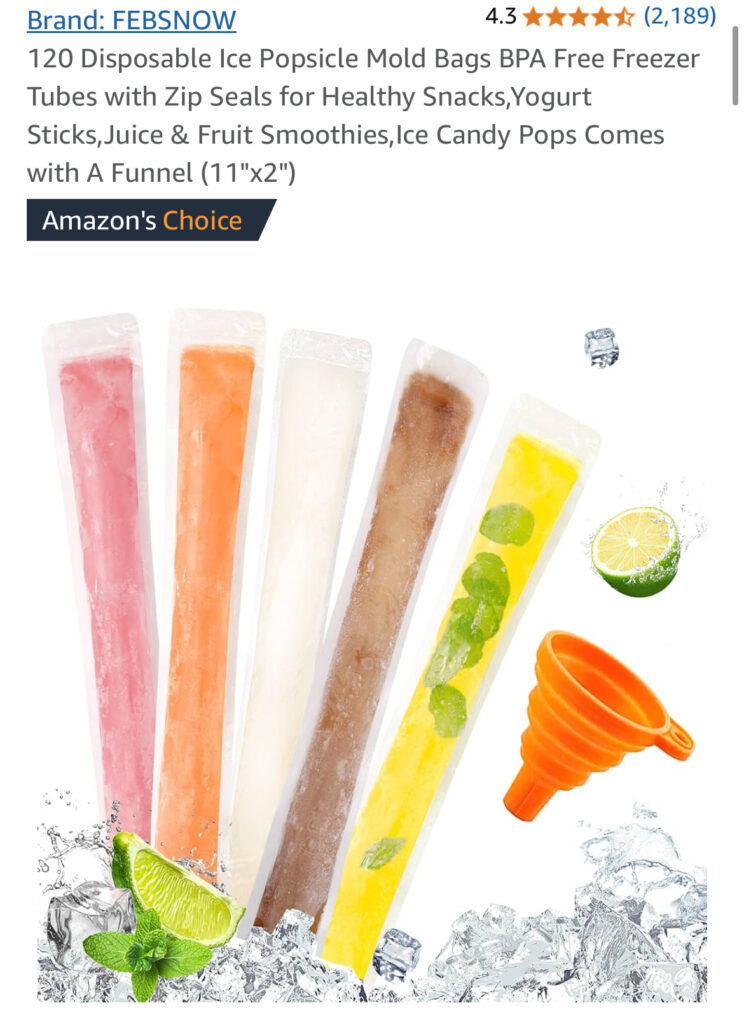
I like to make two kinds of ice pops. Ice pops on a stick (popsicles) or ice pops in a tube (freezies).
When making popsicles, I personally prefer these silicone popsicle trays for easy release and cleaning.
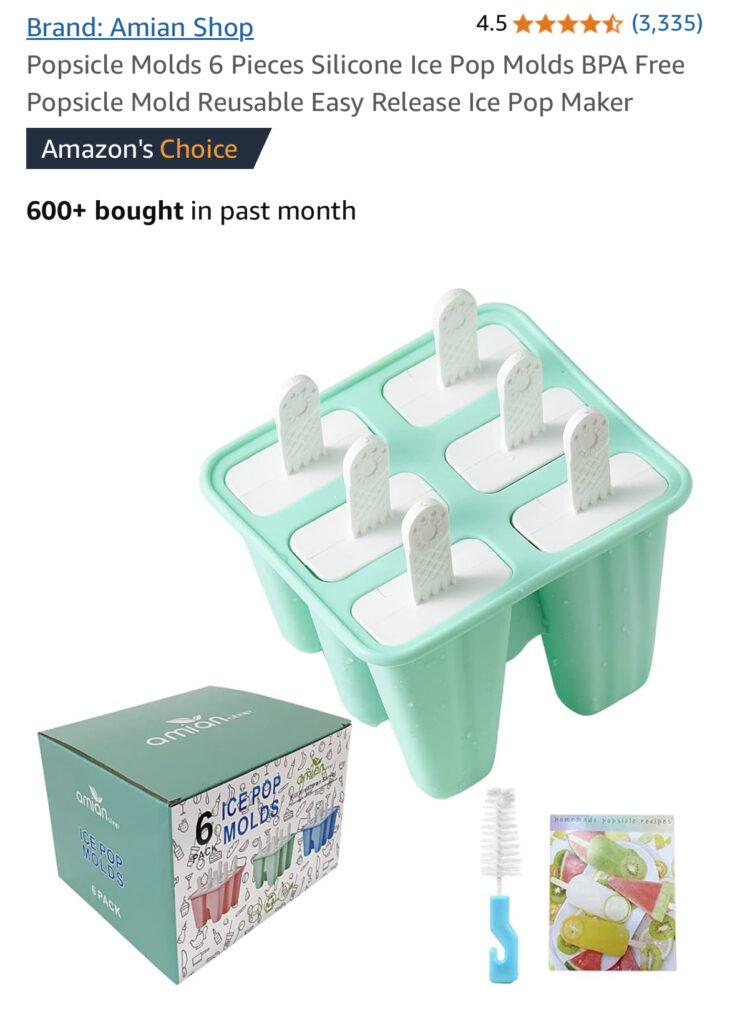
https://a.co/d/iP7qFkbhttps://a.co/d/iP7qFkb
For Freezies, I use these disposable freezer bags so we can make big batches for all the neighbourhood kids!
5. Freeze
Place in your freezer and let them set overnight—or for at least 6–8 hours until completely frozen.
Enjoy!
Pop one out, and you’ve got the most refreshing, hydrating, and naturally sweet treat ready to go.
Popsicle vs. Freezie – Which Do We Prefer?
While both are great, I personally LOVE making homemade freezies. They’re portable, mess-free, and perfect for handing out during summer playdates.
I used to use reusable silicone freezie tubes, but with a house full of kids and constant visitors, it just made sense to go with this 100-pack of disposable freezer bags. One large watermelon can make a lot of ice pops —enough to last us weeks (if we can resist!).
FAQs
❄️ How long does it take to make?
- Prep time: usually around 10 – 15 minutes to prep and blend the watermelon, and another 10 – 20 minutes to fill the molds, depending on how many you make. I like to put in the time now, so we have quick and easy access for the rest of the summer.
- Freezing time: At least 6–8 hours, or overnight for best results.
🍉 How do I store them?
Keep them in a freezer-safe bag or container to avoid freezer burn. They’ll last up to 2–3 months—but good luck keeping them that long!
Final Thoughts: Why Simplicity Wins
I still love experimenting with different frozen treat recipes—you’ll find more of those here—but this one? This is the one I come back to every single time.
It’s healthy, it’s easy, and most importantly—it’s a total crowd-pleaser.
Whether you’re a busy parent, a summer host, or just someone who loves a good popsicle on a hot day, give this recipe a try. It might just become your favourite too.
Don’t forget to share!
If you try this recipe, tag me on Instagram or drop a comment below! I’d love to see your watermelon popsicles in action.
Happy Summer
Jessie xox