
How To Roast A Perfect marshmallow (family secret revealed)
There’s something magical about gathering around a campfire, sharing stories, laughter, and of course, roasting marshmallows. The smell, the warmth, and that perfect gooey texture make it an essential part of any outdoor experience.
In this post, I’ll guide you through the art of roasting PERFECT marshmallows—a skill that will transform your gatherings into sweet, toasted bliss every time.

I don’t normally brag, but one thing I can honestly say is that I make the BEST roasted marshmallows! EVERY SINGLE TIME! And so do my kids!
Why? Because we have one SECRET TRICK, and I’m about to share that trick with you. Once you know it, you too will be able to make perfectly roasted marshmallows every time.
But first….
What Does a Perfect Marshmallow Look Like?
In my opinion, a perfect marshmallow is one that is toasted golden-brown all the way around. It should have just the slightest hint of charcoal on the edges but should never be burnt. This beautiful consistency means the marshmallow is warm throughout, soft, gooey, and perfectly toasted.
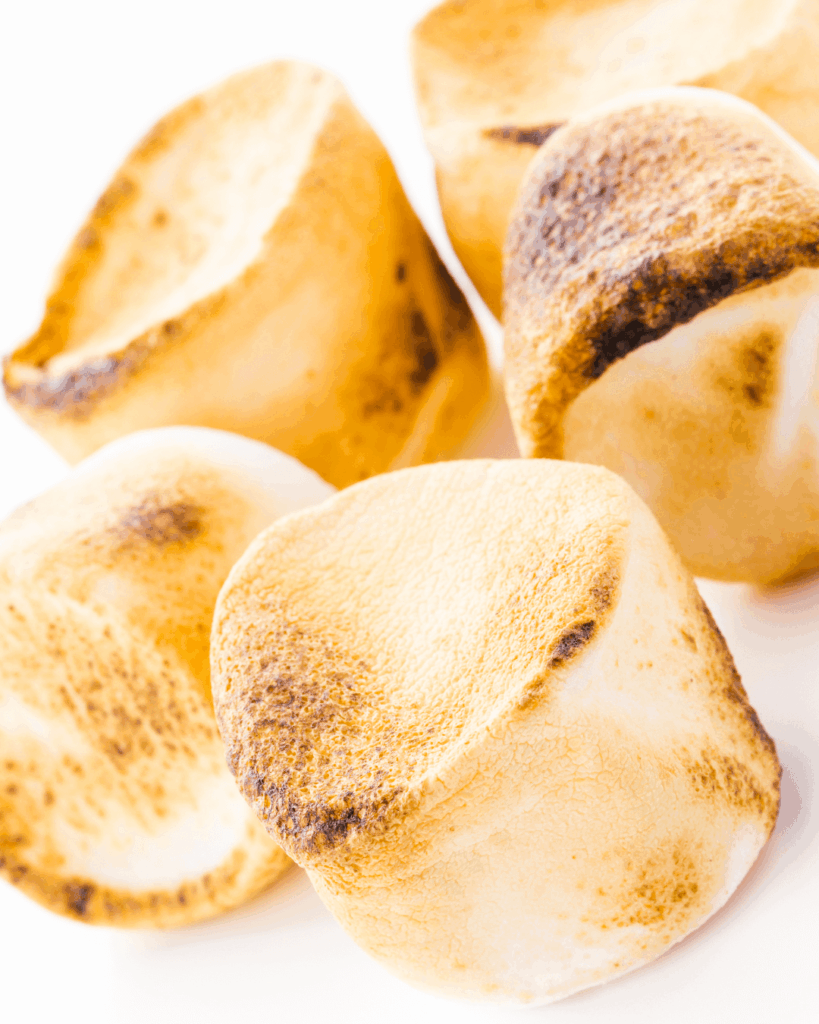
Marshmallows that are only mildly toasted lack flavour and texture, while those burnt to a crisp are just plain disappointing. Aim for that ideal golden-brown marshmallow that melts in your mouth.
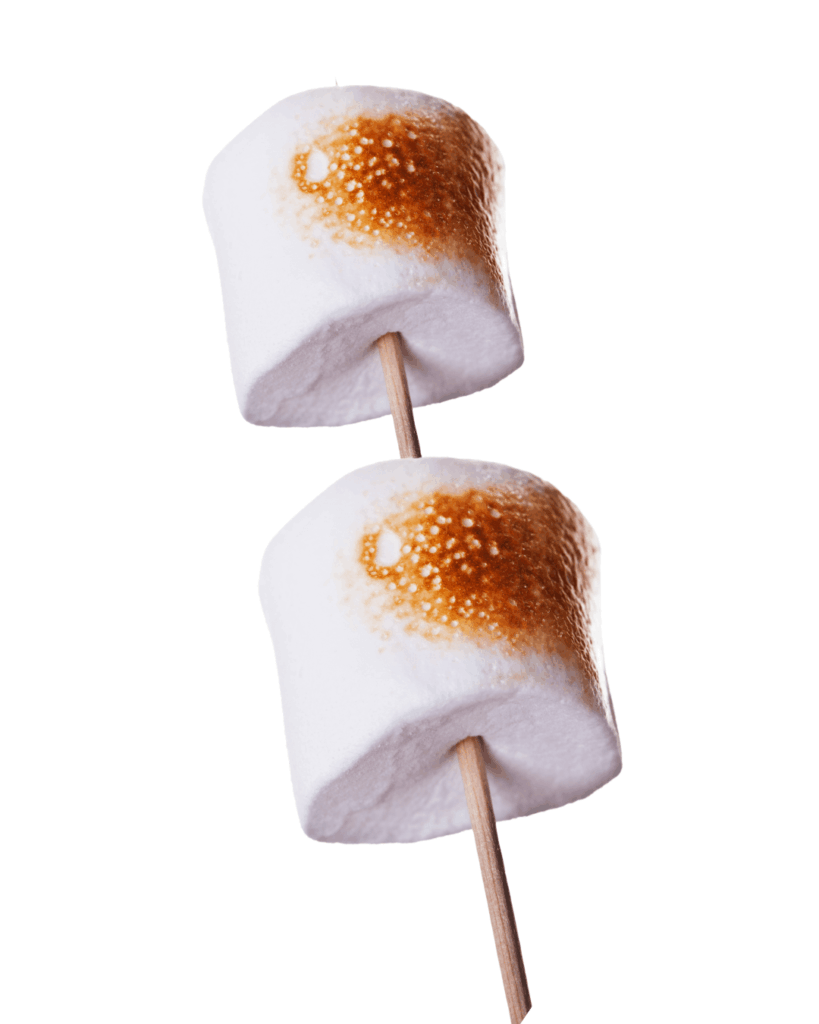
Undercooked 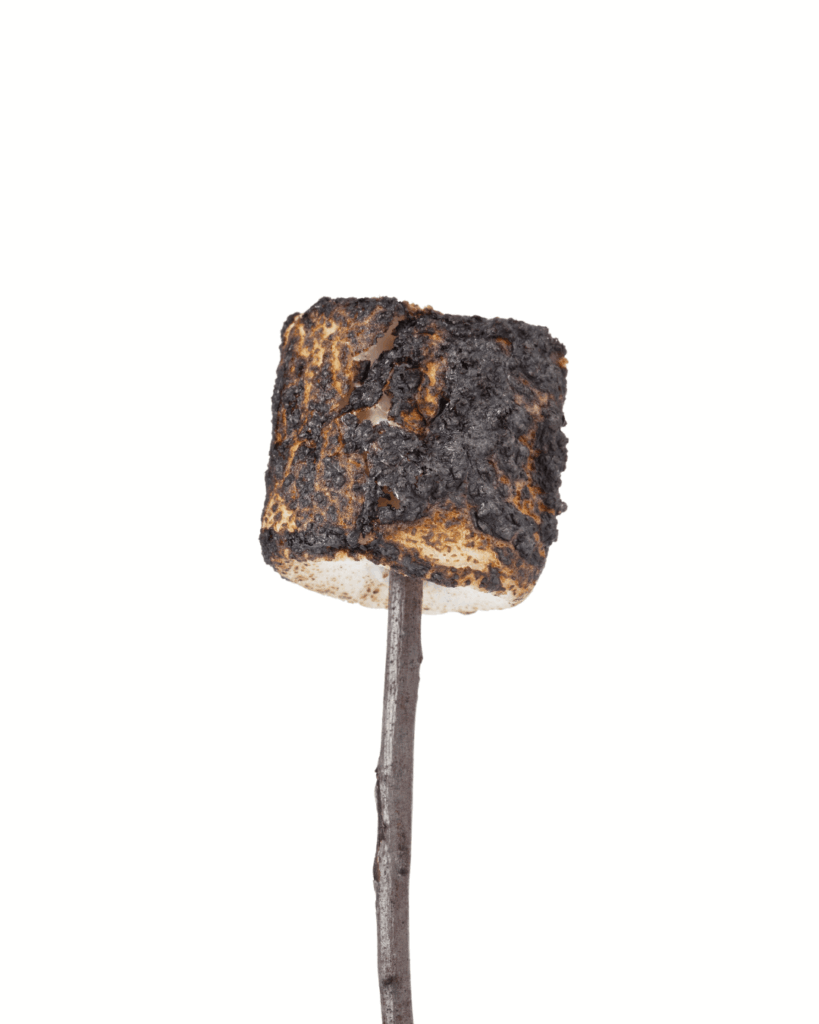
Charcoaled 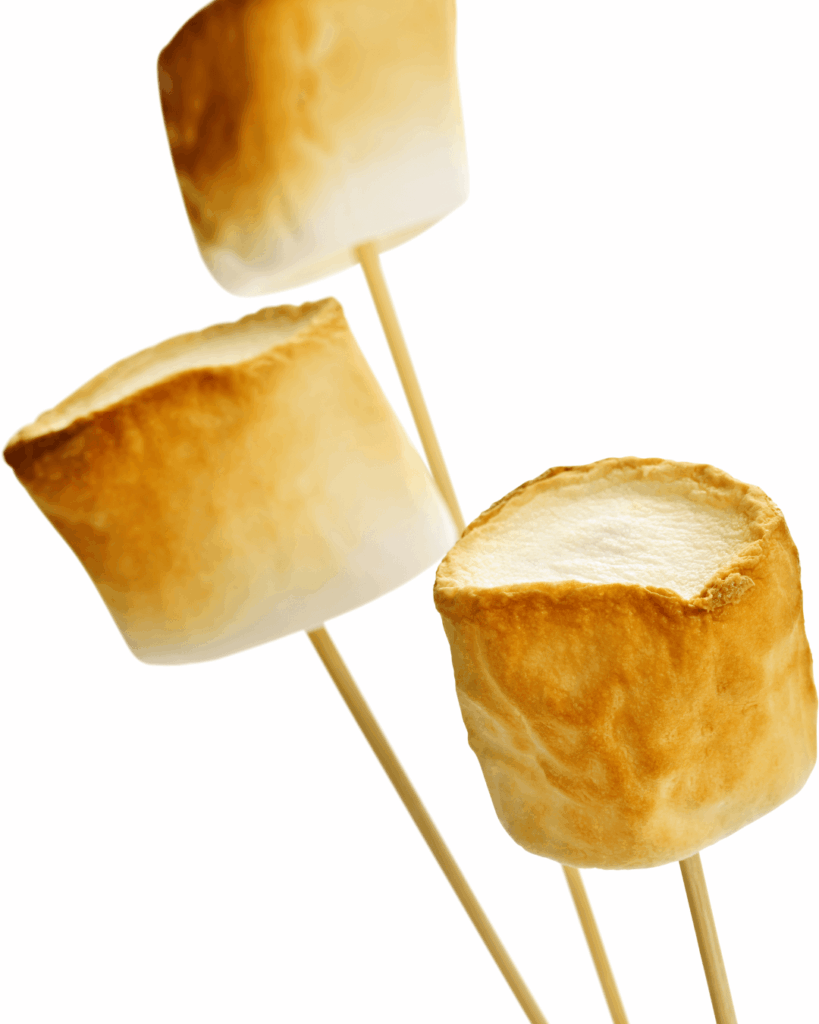
Perfection
How to Cook the Perfect Marshmallow
1. Get the Fire Right
The foundation of perfect marshmallow roasting begins with a great fire. Ensure your fire is very hot and wait until it has developed hot, glowing coals. This step is crucial; if the fire isn’t hot enough or devoid of hot coals, your marshmallows will cook unevenly, leaving you with a less-than-ideal result. Coals are essential—roasting a marshmallow directly in the flames will burn the outside while leaving the inside raw or cold.
2. Choose the Right Roasting Stick
Next, grab a good roasting stick. You can either use a sharpened twig or branch, or purchase metal skewers. I prefer the au natural method of finding my stick in the wild. The stick hunting process is half the fun. Look for a stick that is about 2-3 feet long and about 1/2 inch in diameter. Make sure you sharpen the end so it easily pierces the marshmallow.
I prefer roasting one marshmallow at a time; this approach allows me to focus on achieving that perfect consistency without distraction. This isn’t a race!
3. The Roasting Process
Now comes the most critical part: the actual roasting. Hold your marshmallow over the hot coals about 6 inches, and now you are ready for the SECRET!
The secret to perfectly roasted marshmallow is…..AS SOON AS IT STARTS TO SMOKE – REMOVE FROM THE HEAT!
This is your cue that you’ve achieved the perfect toasted exterior.
If you leave it in the heat even for a second too long after it starts smoking, you risk burning it or catching it on fire—a marshmallow on fire is not the glorious victory you might think!
Conversely, if you pull it out before it smokes, it won’t be cooked enough.
Once one section is perfectly toasted, turn the marshmallow and repeat the process. Putting it near the coals, and removing it from the heat THE SECOND IT STARTS TO SMOKE.
Continue until all sides are toasted to perfection. The routine of holding it over the coals, watching carefully for it to smoke, removing from the heat, and turning to an uncooked section, is key to achieving that remarkably golden-brown exterior.
It is that simple! And it will impress!
4. Finishing Touches
After you’ve roasted your marshmallow, it’s time for the finishing touches. Here is another little secret.
If you hold your perfectly toasted marshmallow over the heat, far enough way that it is no longer cooking but just warming up, the marshmallow will start to melt, and when you take it off the stick, the entire marshmallow will slide off, leaving a perfectly roasted, cooked thoroughly, sticky piece of tasty goodness.
If you want to skip this step, you can gently peel the top of the marshmallow off; most of it should come off easily, sometimes leaving behind a small, rich portion. You can toast this remaining piece for a little caramelized bonus.
5. Enjoying Your Marshmallow
Now that you’ve perfected your marshmallow, you can enjoy it as is, or for an even yummier experience, make s’mores! The combination of melted chocolate and graham crackers takes this sweet treat to the next level.
Feeling inspired? Click here for my favourite s’mores recipes and our famous s’more secrets!
By following these steps and paying attention to the details, you’ll be well on your way to impressing friends and family with your marshmallow-roasting prowess. Happy roasting!